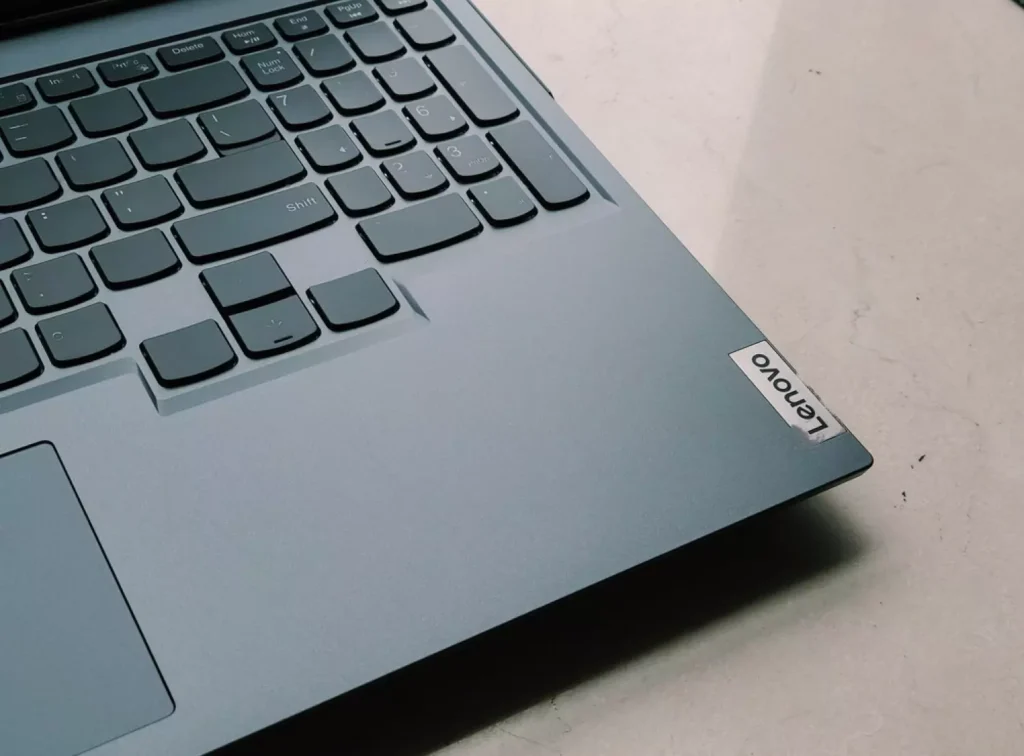
Factory resetting a laptop is sometimes necessary when you want to return it to its original state, erasing all your data and settings. On many Lenovo laptops, this process is initiated using the Novo button, which is a small button typically located near the power button. However, some Lenovo laptops don’t have a Novo button, and you might wonder how to perform a factory reset without it. In this guide, we’ll walk you through the steps for factory resetting your Lenovo laptop without the Novo button.

Understanding the Need for a Factory Reset
Before we explore the steps for factory resetting your Lenovo laptop, it’s crucial to understand when and why you might need to do this:
Troubleshooting
- Factory resets can help resolve various software-related issues, such as system glitches, freezing, or unresponsiveness.
Data Erasure
- A factory reset removes all data and settings, making it an effective way to prepare your laptop for resale or to fix issues caused by corrupt or misconfigured settings.
Factory Resetting Without the Novo Button
If your Lenovo laptop doesn’t have a Novo button, you can still perform a factory reset using built-in Windows tools. Here are the steps:
Step 1: Backup Your Data
Before initiating a factory reset, it’s essential to back up any important data, as the process will erase everything on your laptop. You can use an external hard drive, USB flash drive, or cloud storage to back up your files.
Step 2: Access Settings
- Click the Windows icon in the taskbar or press the Windows key on your keyboard to open the Start menu.
- From the Start menu, click on the “Settings” (gear-shaped) icon.
Step 3: Navigate to Update & Security
- In the Settings window, find and click on “Update & Security.”
Step 4: Choose Recovery
- On the left side of the Update & Security window, select “Recovery” from the options.
Step 5: Reset This PC
- Under the Recovery section, you’ll see an option titled “Reset this PC.” Click on the “Get started” button.
Step 6: Choose an Option
- You will be presented with two options: “Keep my files” and “Remove everything.” Select “Remove everything” to perform a complete factory reset.
Step 7: Clean the Drives
- You’ll now have to choose how you want to clean your drives. For a thorough factory reset, select “Remove files and clean the drive.”
Step 8: Reset
- Windows will ask you to confirm your choice and then provide a summary of what will happen. Click the “Reset” button to proceed.
Step 9: Start Reset
- Windows will display one last confirmation prompt, informing you that the process will remove all your files and settings. If you’re ready to proceed, click the “Reset” button to initiate the factory reset.
Step 10: Wait for the Reset
- Your Lenovo laptop will begin the reset process. This may take some time, so be patient.
Step 11: Reconfigure Your Laptop
- Once the reset is complete, your Lenovo laptop will restart. You’ll need to follow the on-screen prompts to set up Windows, just like when you first got your laptop.
Additional Tips
- It’s important to ensure that your laptop is plugged in or has sufficient battery life when performing a factory reset to avoid any interruptions.
- Make sure to have your Windows product key and login information ready for the post-reset setup.
- If your laptop experiences issues and you’re unable to access Windows, you can use Windows installation media to perform a factory reset.
Conclusion
Performing a factory reset on your Lenovo laptop without a Novo button is possible using the built-in Windows tools. By following the steps outlined in this guide, you can successfully reset your laptop to its original state, resolving software issues and erasing all your data and settings. Remember to back up your important data before initiating the reset to prevent data loss.

